Blog
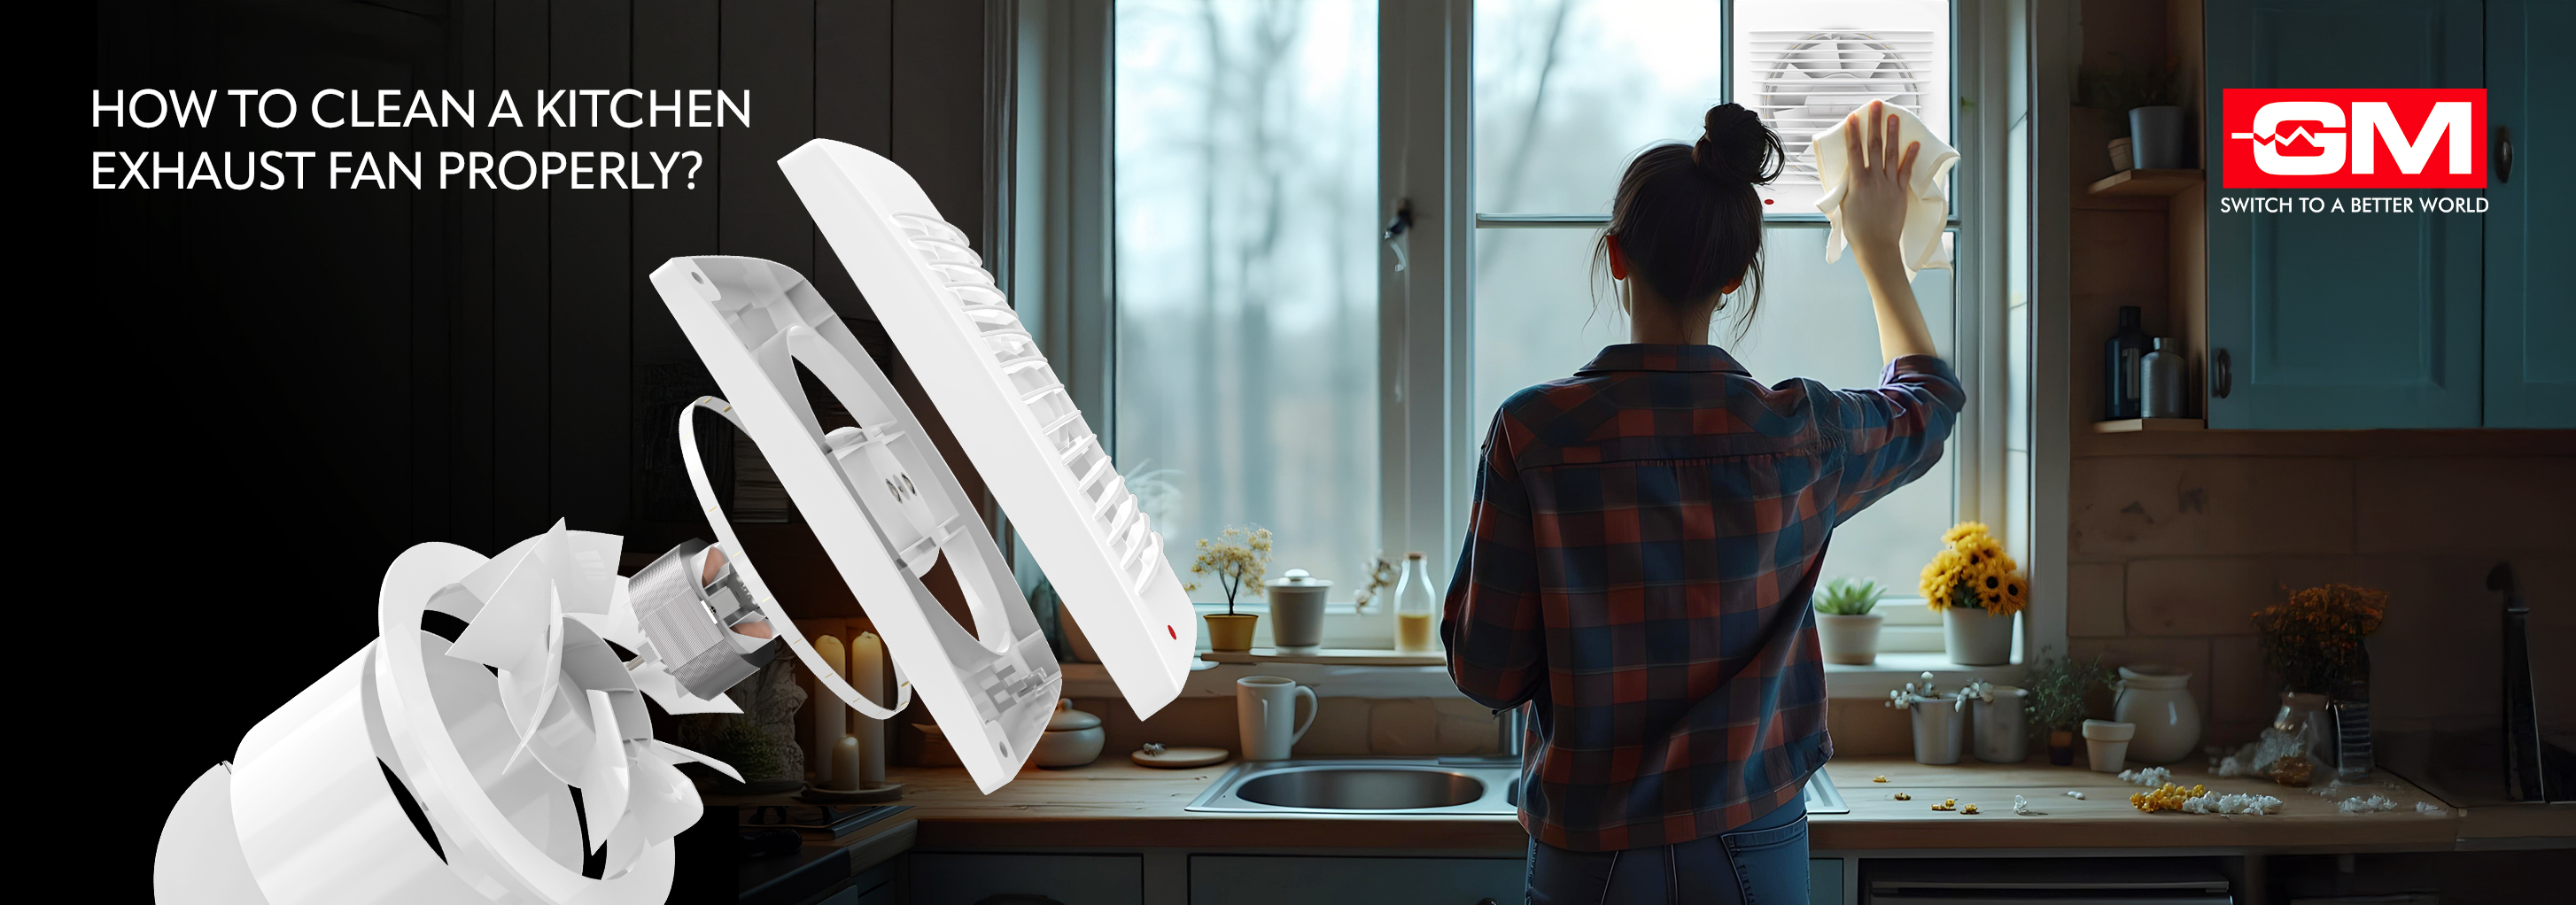
How to Clean a Kitchen Exhaust Fan Properly?
Updated on May 2025
It is common to have your kitchen exhaust fan looking all greasy and oily, making your kitchen feel hotter and less elegant. With time, a sticky layer of dust and grime accumulates over it, making it look stuffy and smelly. Ignoring the details of how to clean an exhaust fan can lead to decreased performance and pose a fire risk. But the good news is that cleaning an exhaust fan is not as complicated as it sounds. It requires patience and knowledge of the correct steps involved in cleaning a kitchen exhaust fan.
This detailed guide will walk you through the steps of how to clean an exhaust fan without needing any fancy toolset, so it makes the kitchen feel warmer and radiates fresh air across.
How to Clean an Exhaust Fan? (Quick Steps)
Dust particles arising from the smoke and everyday cooking activities settle on the exhaust fan blades and its filters, making it less efficient in the long term. Here’s what you need to do to clean an exhaust fan.
1. Switch Off the Exhaust Fan
Make sure to check that the exhaust fan is switched off and unplugged from the power source. It will keep you safe from any potential electric surges while you clean the exhaust fan.
2. Remove the Exhaust Fan Mesh
You can remove the exhaust fan using a screwdriver. The mesh is the rectangular metal part that holds the exhaust fan together. Be careful of your safety while loosening the screws. Clean the dust and oil accumulated on the mesh using a rag cloth dipped in a soapy solution.
3. Remove the Grease Filter
Next, remove the grease filter attached inside the exhaust fan. It prevents aerosolised oil from entering the duct. No matter what the shape or size of your kitchen exhaust fan, a grease filter will definitely be attached to it. For a precise explanation, you can refer to the model’s user manual. It will have detailed outlines of how to remove the filter from an exhaust fan.
4. Clean the Filter Using Warm Water
Some exhaust fans come with disposable filters while others require you to clean its filter regularly. To clean the filter of an exhaust fan, scrub it in a warm soapy solution with a coarse brush. If removing the grease patch is troublesome, boil the water, add a pinch of baking soda, and wash the filter in hot water until it is clean. This process of cleaning the kitchen exhaust fan usually takes 45 minutes to 1 hour, depending on the grease and oil accumulated.
5. Wipe Away the Grease with a Dry Cloth
After cleaning the filter in a soapy solution, use a clean cloth to dry it off and wipe away any leftover grease, oil patches, and dirt. Dip the same cloth slightly in the warm water solution and wipe off the grease on the hood and blades of the kitchen exhaust fan. Use a clean rag cloth to dry them off.
6. Reinsert the Filter and Reassemble the Exhaust Fan
Once the filter is dried completely, put it back into the exhaust fan and reassemble the blades. Be mindful that all the parts are secured tightly to prevent any potential mishap. Restore the power, and your exhaust fan is ready to radiate fresh air while cooking.
Also, read our detailed blog on the difference between ventilation fan and exhaust fan to make the right choice for your space.
How to Clean a Kitchen Exhaust Fan Without Removing the Mesh?
There are times when removing the kitchen exhaust fan is not feasible for the members living in a residential home. In such cases, learning how to clean an exhaust fan without removing it can be beneficial. Here’s what you need to do.
1. Turn Off the Kitchen Exhaust Fan Switch
Your safety is the utmost priority while cleaning the kitchen exhaust fan without removing it. Before you begin with the process, ensure that the switch is off and the exhaust fan is unplugged from the electrical outlet.
2. Clean the Mesh
You can vacuum the dust settled on the sides of the rectangular mesh. Also, a cloth dipped in a soapy solution will help you remove any oil and grease. Later, you can wipe it with a clean, damp cloth and law it dry.
3. Step In to Clean the Exhaust Fan Blades
There’s no need to remove the blades if you are learning how to clean the kitchen exhaust fan without removing it. Use a vacuum cleaner with a different crevice and brush attachment to remove any non-sticky dust. You can also use exhaust fan cleaning spray or the rag cloth dipped in warm soapy solution. Once you remove the oily, greasy dirt particles, allow the kitchen exhaust fan to dry completely. Do not switch on the power immediately. If there are any water droplets clogged in, it can lead to a short circuit and even permanently damage the exhaust fan.
4. Reattach the Fan Mesh
If you have removed the rectangular exhaust fan mesh using a screwdriver, you can reattach them back by securing the connecting hooks and latches. You don’t need to do this step if you haven’t removed the mesh from the fan. Preferably, after 30-45 minutes of cleaning the kitchen exhaust fan, once it is dry, you can plug it back into its electrical source.
Want to know why exhaust fans are a must-have? Read our blog on the benefits of installing an exhaust fan in your bathroom and kitchen for better ventilation and hygiene.
When Should You Clean an Exhaust Fan?
Although there’s no need to clean an exhaust fan very frequently, there are signs that help you notice that your exhaust fan needs cleaning. A few of them include:
- Visibly higher grease build-up.
- Decreased ventilation.
- Lower efficiency.
- Radiates poor air quality and unusual smell.
- Not working smoothly.
- Increase in rattling noise.
- Higher energy consumption costs.
- Sticky surfaces around the hood.
This was all about how to clean a greasy exhaust fan in the kitchen. Knowing how to clean the kitchen exhaust fan will help you maintain a clean and tidy kitchen where fresh air passes throughout the day. It is essential to maintain the efficiency, safety, and hygiene of your home. With the simple steps outlined in this guide, you can ensure your kitchen remains fresh and your exhaust fan runs smoothly for a longer duration.
Frequently Asked Questions
1. Do Exhaust Fans need to be cleaned?
Yes. Grease accumulates in the interior surfaces of the kitchen exhaust fan blades, decreasing the ventilation and posing a higher risk of fire. Thus, it is essential to clean kitchen exhaust fans at regular intervals of a few months.
2. How do you clean the inside of a Kitchen Exhaust?
Use a solution of baking soda and vinegar to clean the surface of the filters. Baking soda helps remove the build-up of dust, and vinegar helps to neutralise any grease or oily leftovers.
3. How to clean greasy Kitchen Exhaust Fan Filters?
Immerse the greasy kitchen exhaust fan filters in warm to slightly hot water and add the washing liquid. Gently scrub with a brush with soft bristles and allow it to dry for 45 minutes to 1 hour.
Related Blogs

Bladeless Fan Buying Guide: 10 Checks | GM Modular
Bladeless Fan Buying Guide: 10 Things to Check Before You Buy A bladeless fan looks like the obvious upgrade. No spinning blades, a slim tower, a quiet hum, and a price that hints it must be the better choice. But the word “bladeless” on
Read More
What Is a GaN Charger? A Simple Guide
What Is a GaN Charger? Everything You Need to Know You have probably used gallium nitride for years without knowing it. Before it reached the charger on your wall, this material lit up the first white LEDs, powered blue lasers, and read the discs in
Read More
GM Artic Air 1: 3-in-1 Bladeless Tower Fan
Why the GM Artic Air 1 Is the Ultimate 3-in-1 Appliance for Every Season Picture one slim tower in the corner of your living room. In May, it cools you through a brutal afternoon. In August, it clears the damp, stale air the monsoon leaves beh
Read More
Wireless Charging vs Wired Charging: Which Is Faster?
Wireless Charging vs Wired Charging: Which Is Faster? If your phone is at 10% and you have twenty minutes before heading out, which charger should you grab: the cable or the pad? Wireless charging is everywhere now, yet most of us still reach for a
Read More